Handling Water Mitigation After Washing Machine Leak in Leander, TX
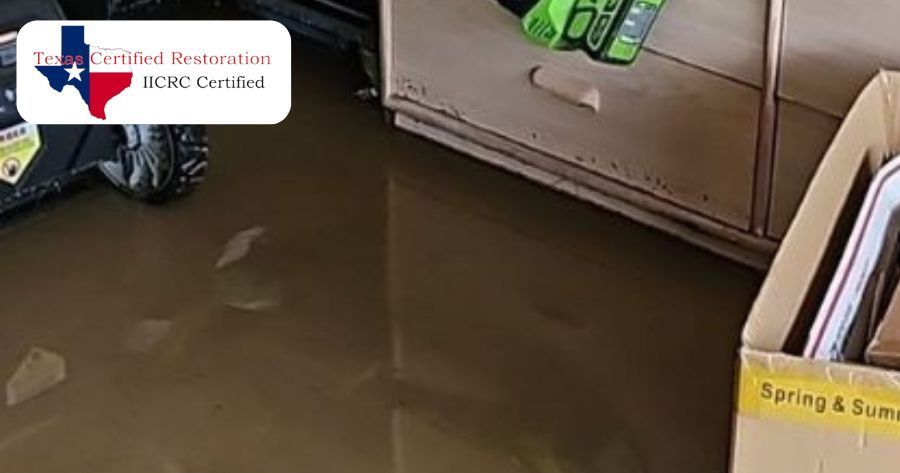
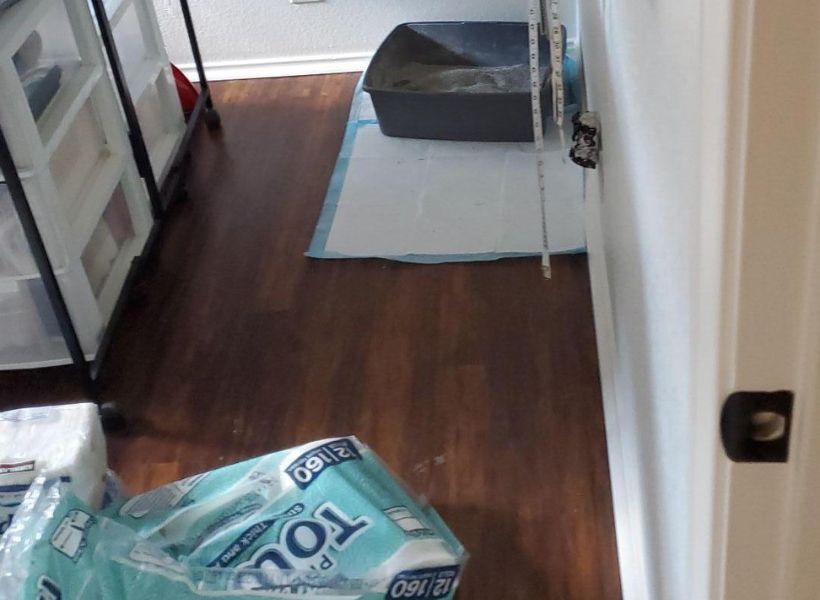
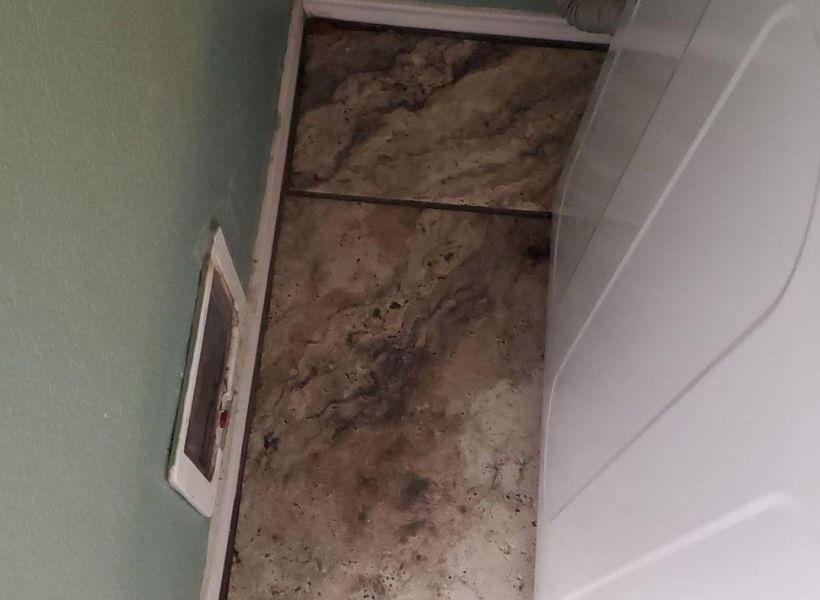
At Texas Certified Restoration, we understand how stressful water damage can be. Recently, we received a call from a worried homeowner who experienced a serious washing machine leak. The water spread quickly, affecting multiple rooms in their home, including the bathroom, living room, laundry room, hallway, craft room, master bedroom, guest bedroom, and all the closets in between. Here’s how we tackled the
water damage mitigation in Leander, TX.


A Call From a Worried Client
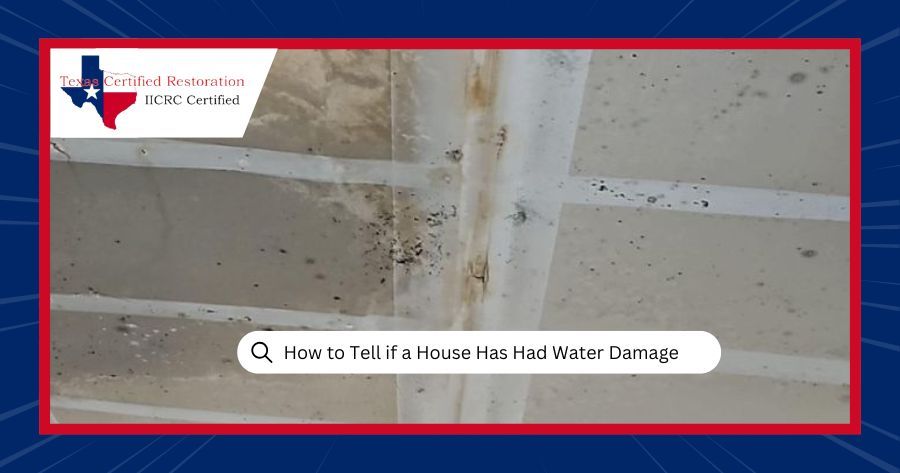
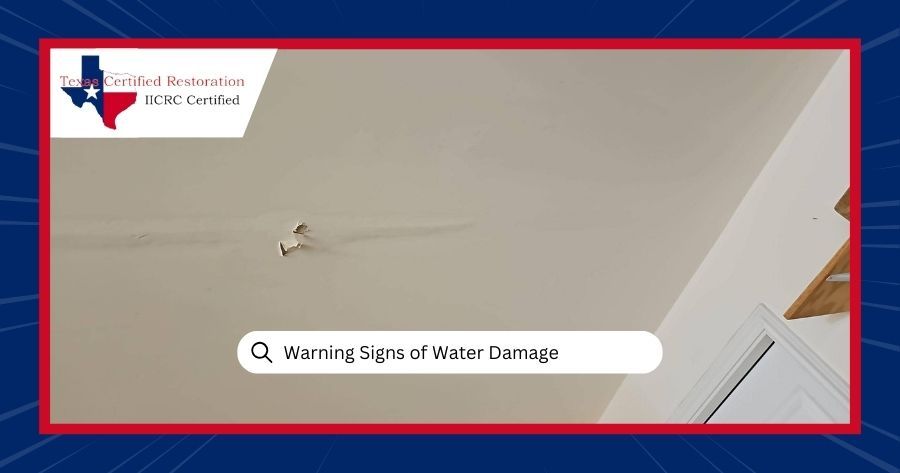
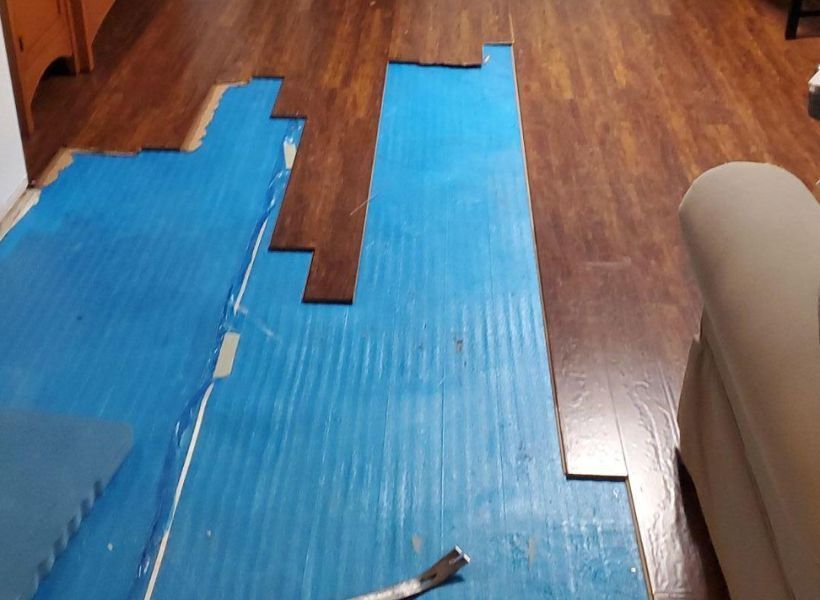
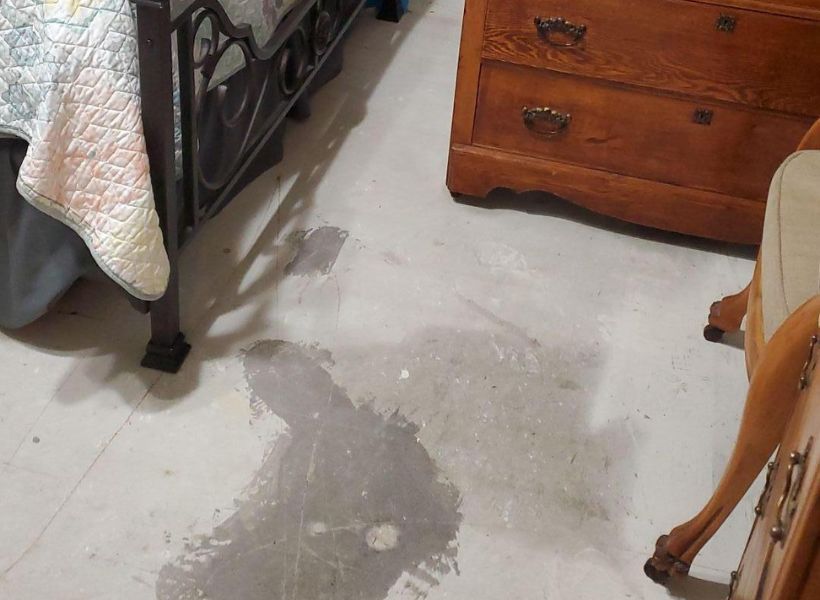
When the homeowner contacted us, they were understandably concerned. The water had seeped into the laminate flooring, damaging both the floors and the blue foam underlayment beneath them. The baseboards in all the affected areas were also starting to show signs of water damage. The homeowner needed help, and they needed it fast.


Steps We Took to Minimize the Damage After Washing Machine Leak
After assessing the situation, we moved quickly to tackle the water damage. Our goal was to minimize further damage and restore the affected areas to their original condition. Here’s a breakdown of the steps we took:
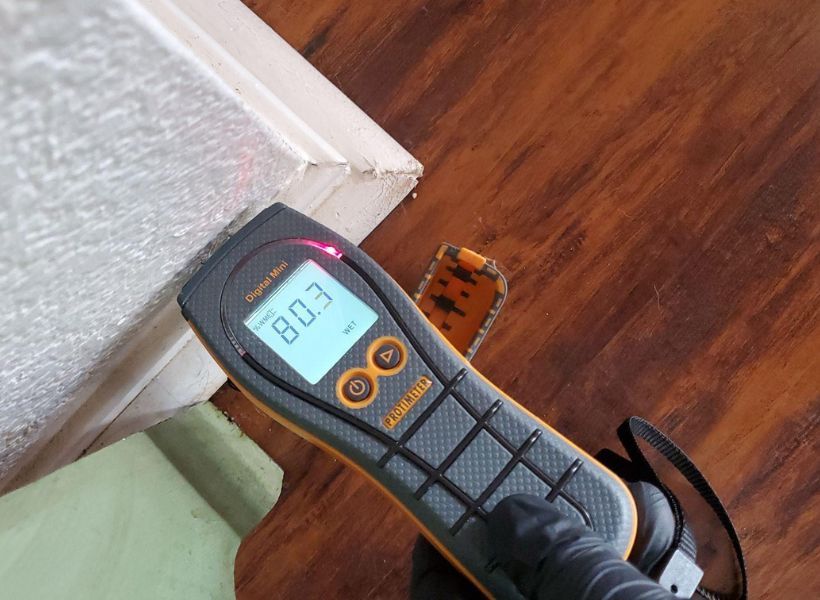
Initial Inspection
We began by thoroughly inspecting the property. Using a moisture meter, we assessed the extent of the damage and identified the most affected areas. This allowed us to pinpoint where the water had spread and ensure no damage was overlooked.
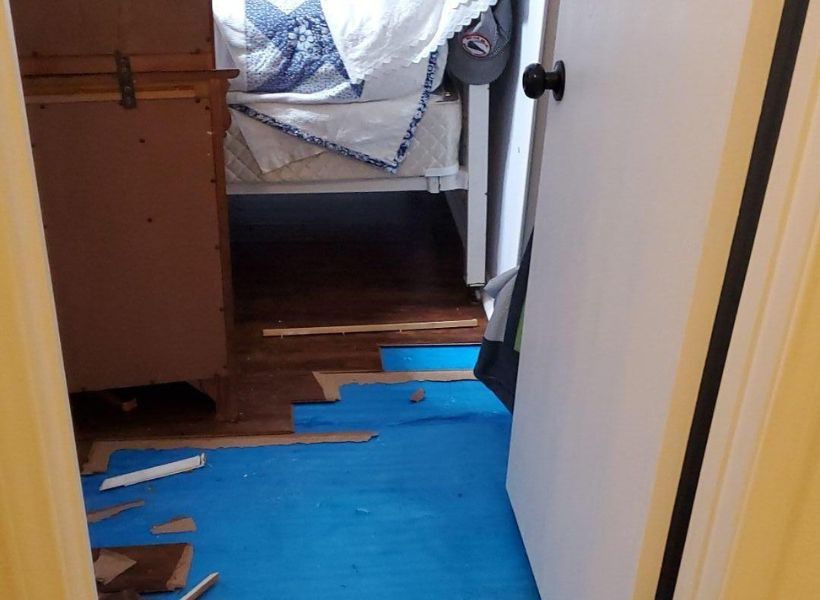
Removal of Affected Materials
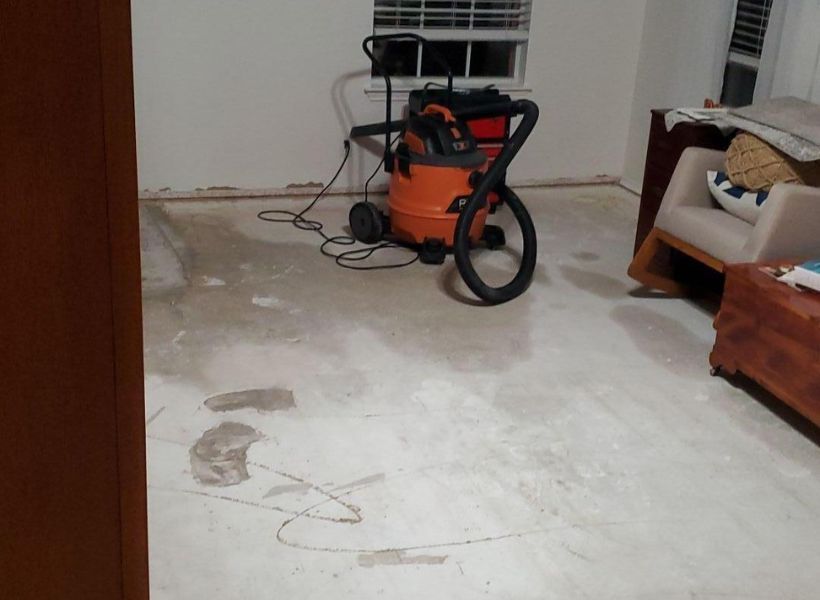
Next, we carefully removed the damaged laminate flooring, blue foam underlayment, and baseboards from each room. This step was essential to prevent further damage and reduce the risk of mold growth. Removing these materials helped us access all the areas that needed to be dried out and treated.
Drying the Area
Once we had removed the damaged materials, the next important step was to dry out the affected areas. Proper drying was necessary to prevent further damage and reduce the risk of mold growth. Here’s how we handled the drying process:
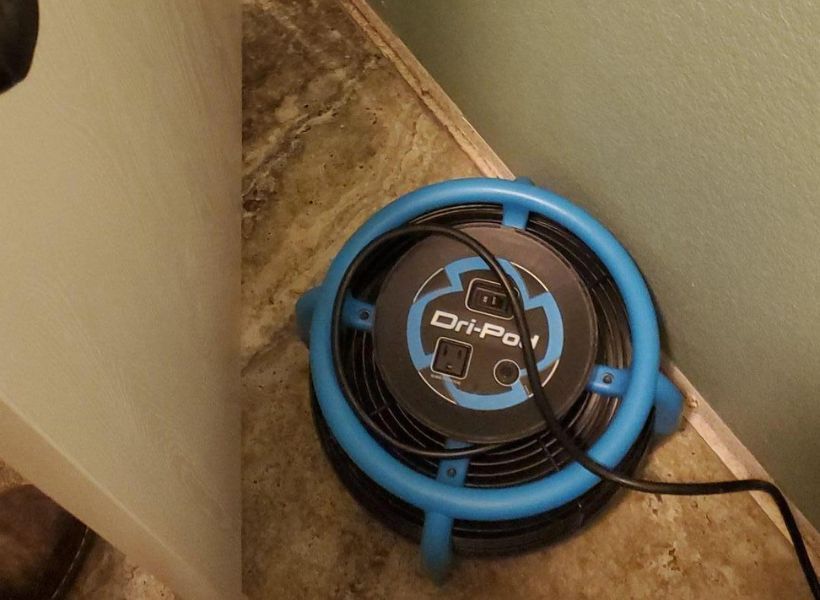
- Placing Air Movers: We began by positioning air movers throughout the home. These devices helped circulate the air, speeding up the evaporation process and ensuring that moisture was evenly distributed and removed from the surfaces.
- Setting Up Dehumidifiers: Along with air movers, we set up dehumidifiers in key areas. Dehumidifiers worked to extract excess moisture from the air, which helped in drying out materials and reducing humidity levels in the home.
- Monitoring the Process: To ensure successful drying, we monitored the progress daily. This allowed us to make adjustments as needed and confirm that all affected areas were drying properly. We checked for any signs of remaining moisture and handled them quickly.
Applying Anti-Microbial Agent
Once the drying process was complete, we applied a plant-based anti-microbial agent to all the affected areas. This treatment was critical in preventing any potential mold growth and ensuring a safe environment for the homeowner. The anti-microbial agent helped to protect the home from future issues related to moisture and mold.
Final Inspection
After the drying and treatment were finished, we did a final inspection to confirm that the home was completely dry. We checked all the areas where the anti-microbial agent was applied to ensure it was successful.
Another Successful Project
By the end of the project, the homeowner’s house was fully dried, and the damaged materials were safely removed. They were relieved to know that their home was free from moisture and potential mold growth.
Ready to Restore Your Home? Contact Texas Certified Restoration Today!
When water damage strikes, Texas Certified Restoration is here to help you get back to normal. Our experienced team handles everything from initial inspection to complete drying and restoration. Don’t let water damage disrupt your life - reach out to us for fast, reliable service. Contact us at (512) 883-6760 or fill out an online form on our website.